 |
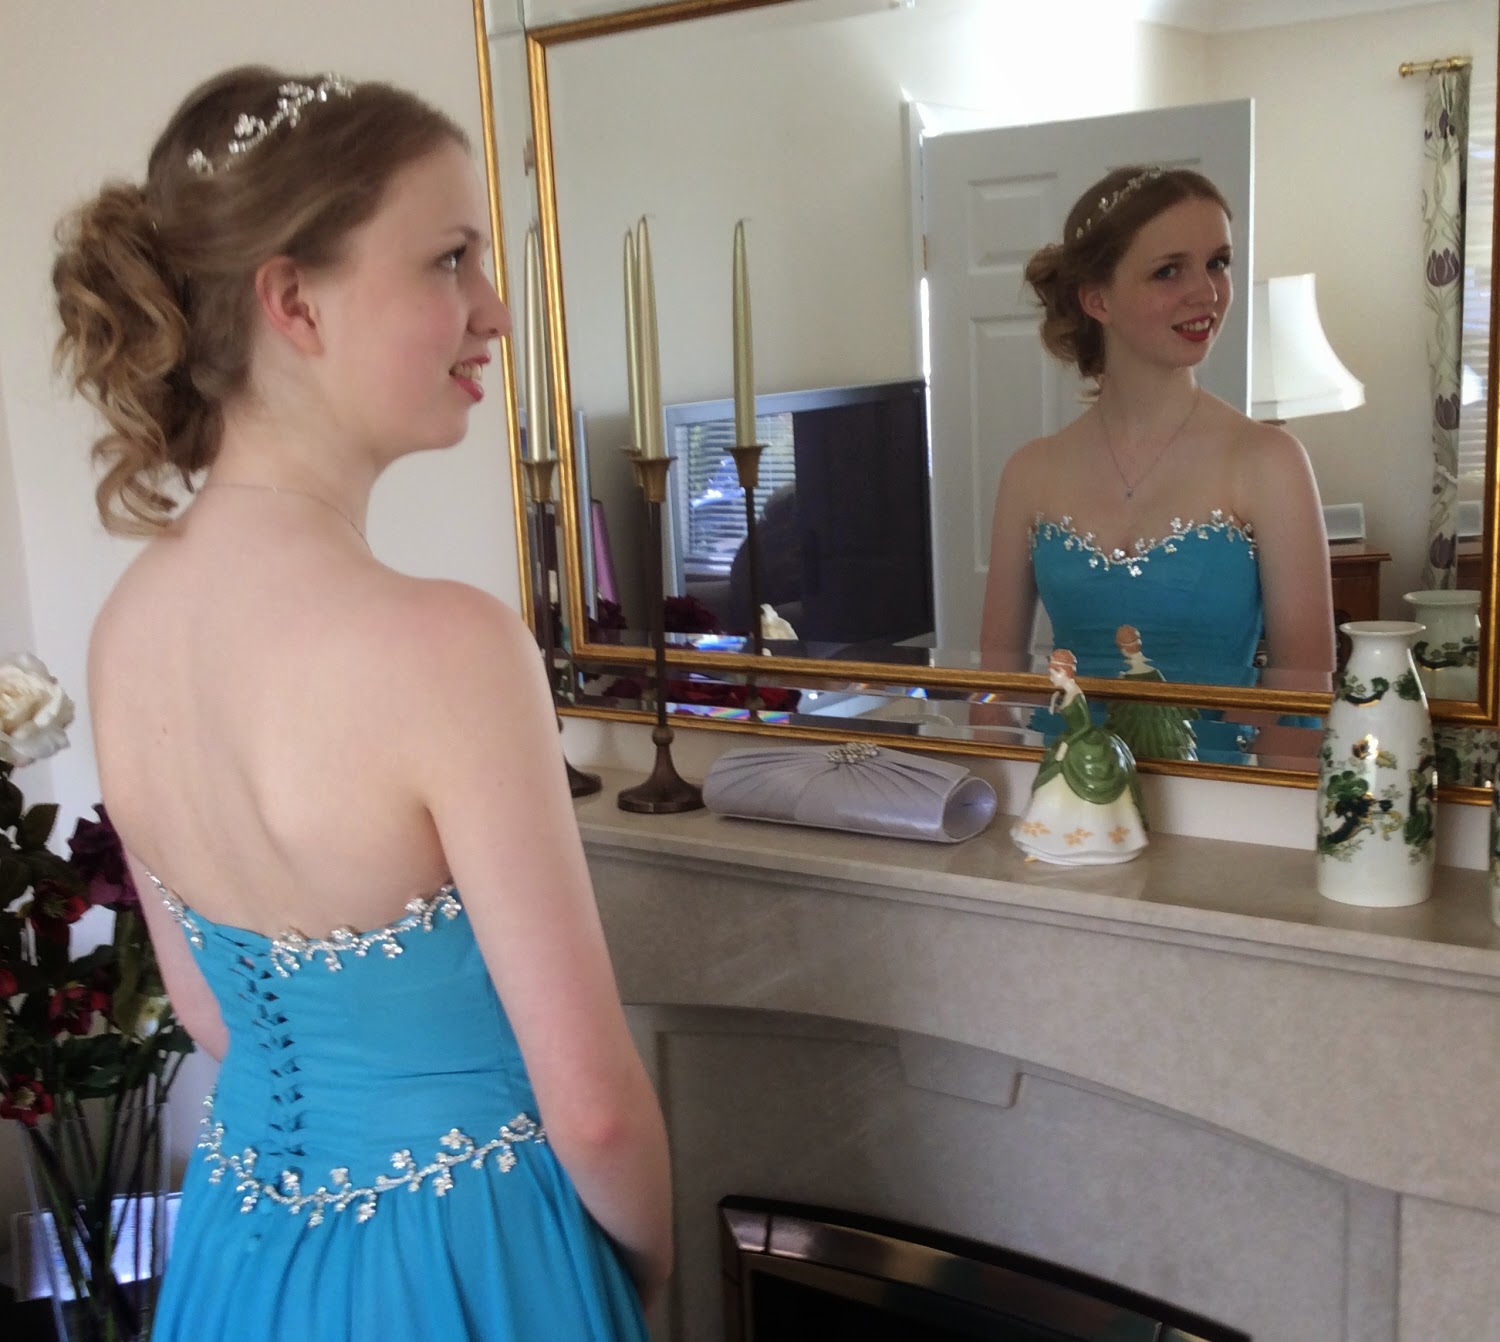
| Hedd in her finished prom dress |
My eldest child wanted a strapless boned bodice for her prom dress and
I'd been lucky enough to find a pattern for a bodice and skirt that I
thought I could adapt. (You can read about her design ideas in
Hedd's Prom Dress - Part 1).
I'm giving you a sneaky peek of the finished dress - as the photos of the work in progress are a bit dull!
Here she is at my mum's house on the night of the prom - checking out her hair and make up in the mirror. She looked absolutely stunning - really elegant - I was very proud of her.
As you can see, the dress has a sweetheart bodice and self lacing at the back - exactly as she'd asked for.
 |
| Cotton toile for accurate sizing |
I thought I'd better do a cotton toile first (a sample made up using the
pattern to check sizing - but using cheaper fabric) as she seemed
to be in between the sizes on the pattern.
And as you can see from the photo of the half bodice toile on the left, I needed to let the waist and hips out a bit, but take the bust in, which was surprising as I thought I'd have to let the bust out based on the measurements on the pattern sizing. Motto - never trust the pattern! Bodies don't come in standard sizes....
From my toile I was able to adjust the paper pattern - I just creased small darts where needed and pinned into place before trying again. I made another cotton toile using the adapted pattern - which fitted perfectly! Hooray!
 |
| Boning in tape casing stitched to seam lines |
The pattern I was using was unlined so the casing for the plastic boning was supposed to be stitched straight to the bodice.
But I didn't want the stitching lines to show at the front, and I was planning on adding a lining, so I decided to add the boning to the bodice lining rather than to the bodice top layer.
Luckily I decided to test my technique using the cotton toile bodice - the bodice seemed to shrink a little when the boning was applied - so I was able to allow for this when cutting out the lining.
 |
| Side view of boned lining |
Hedd had chosen a soft silver duchesse satin as an underskirt and bodice - that would be overlaid by chiffon.
I had bought some thin lining fabric for the petticoat layer of the skirt but I thought it might not stand up to the pressures of the boning and the tight lacing, so I decided to use the firmer satin as my bodice lining.
The photos show the satin bodice lining (with the right shiny side facing in towards the body) with a soft herringbone tape stitched along each of the seam lines and topstitched down to form a casing.
I cut the boning to size and added a soft binding to the ends so they wouldn't poke into her. My tape was wider than needed but it didn't matter as it was all hidden inside once I'd added the lining to the main bodice.
If you'd like some more technical help with boned bodices, including how to curve and cover the boning ends so they don't poke into the wearer and how to adjust paper patterns, here are some fab blogs and online articles I found helpful.
 |
| Bodice version 1 - unboned |
I made the main bodice from the same silver duchesse satin overlaid with aqua chiffon - actually I made two. Hedd initially chose a gorgeous pale aqua chiffon in a very fine weave. I treated both the satin and the chiffon layers as one fabric, so all the chiffon edges would be enclosed in the seam allowances. This fine chiffon was really hard to work with - it kept slipping around on the shiny satin - I had to pin, re-pin; tack and re-tack lots of time to get it to sit flat.
But once I'd made it up, we realised it was too pale for her - you can see the first attempt in this photo (at this stage the boned lining isn't attached so it looks rather loose and floppy). She also thought it was too shiny - the fine weave let a lot of the satin show through.
So we chose a darker chiffon which was a much stronger colour on her. It was also a heavier weave that let less shine through and I felt would help the skirt hang better. And there was another bonus, this chiffon was coarser - more granular than slippery, so it was much easier to overlay on the satin.
The new bodice was stitched to the lining along the top seam - I left the two back seams open so I could add the corset lacing loops later. Ok - that was (relatively) easy! Now I needed to work out how to attach the skirt to the bodice! But that can wait for next time.